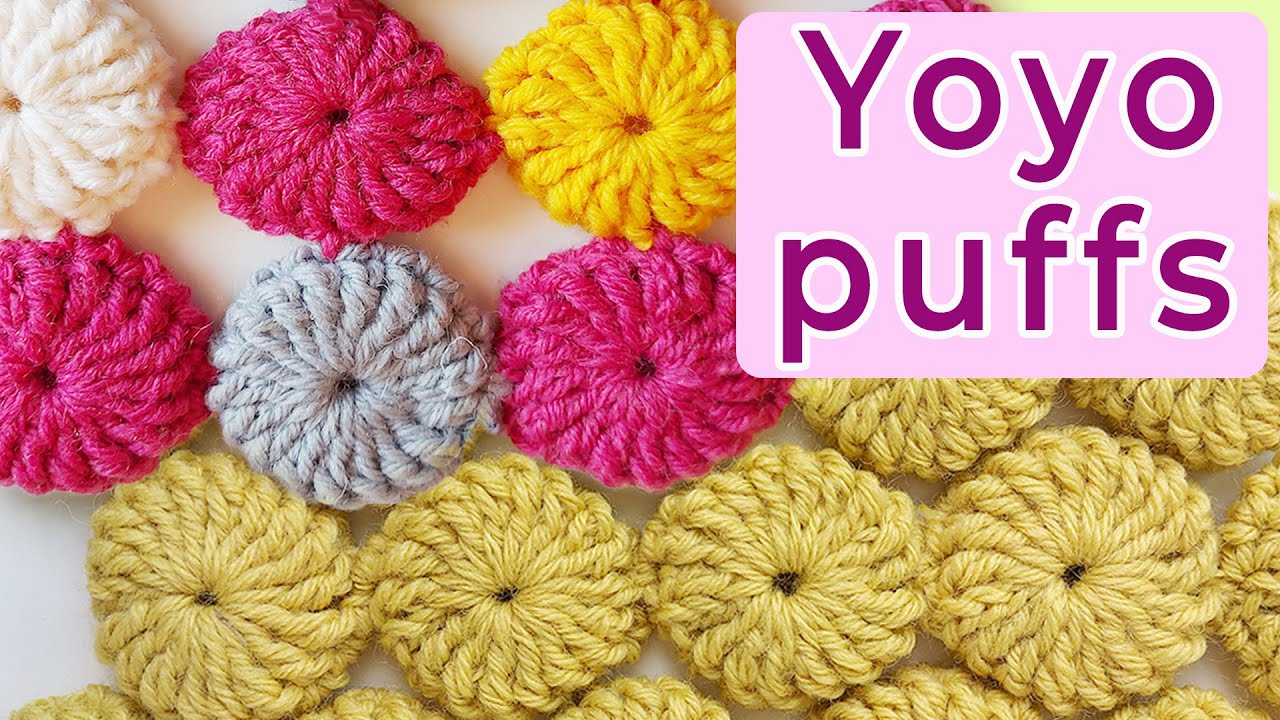
Welcome to the captivating world of crochet he Yoyo Puff, where stitches weave tales of creativity and craftsmanship. Among these stitches lies the enchanting Yoyo Puff, a delightful embellishment that adds an irresistible touch of charm and dimension to your crochet repertoire. This unique stitch, reminiscent of playful yoyos stacked together, boasts a mesmerizing texture that elevates any project from mundane to magnificent.
As your crochet hook becomes your wand and yarn your magical thread, the Yoyo Puff stitch emerges as a versatile tool in your crafting arsenal. Imagine the thrill of fashioning elegant scarves with textured flair, or whimsical baby blankets that evoke joy with every touch. The Yoyo Puff, with its simplicity yet remarkable impact, transcends the boundaries of ordinary crochet, inviting you to explore and innovate.
What Is The Yoyo Puff Stitch?
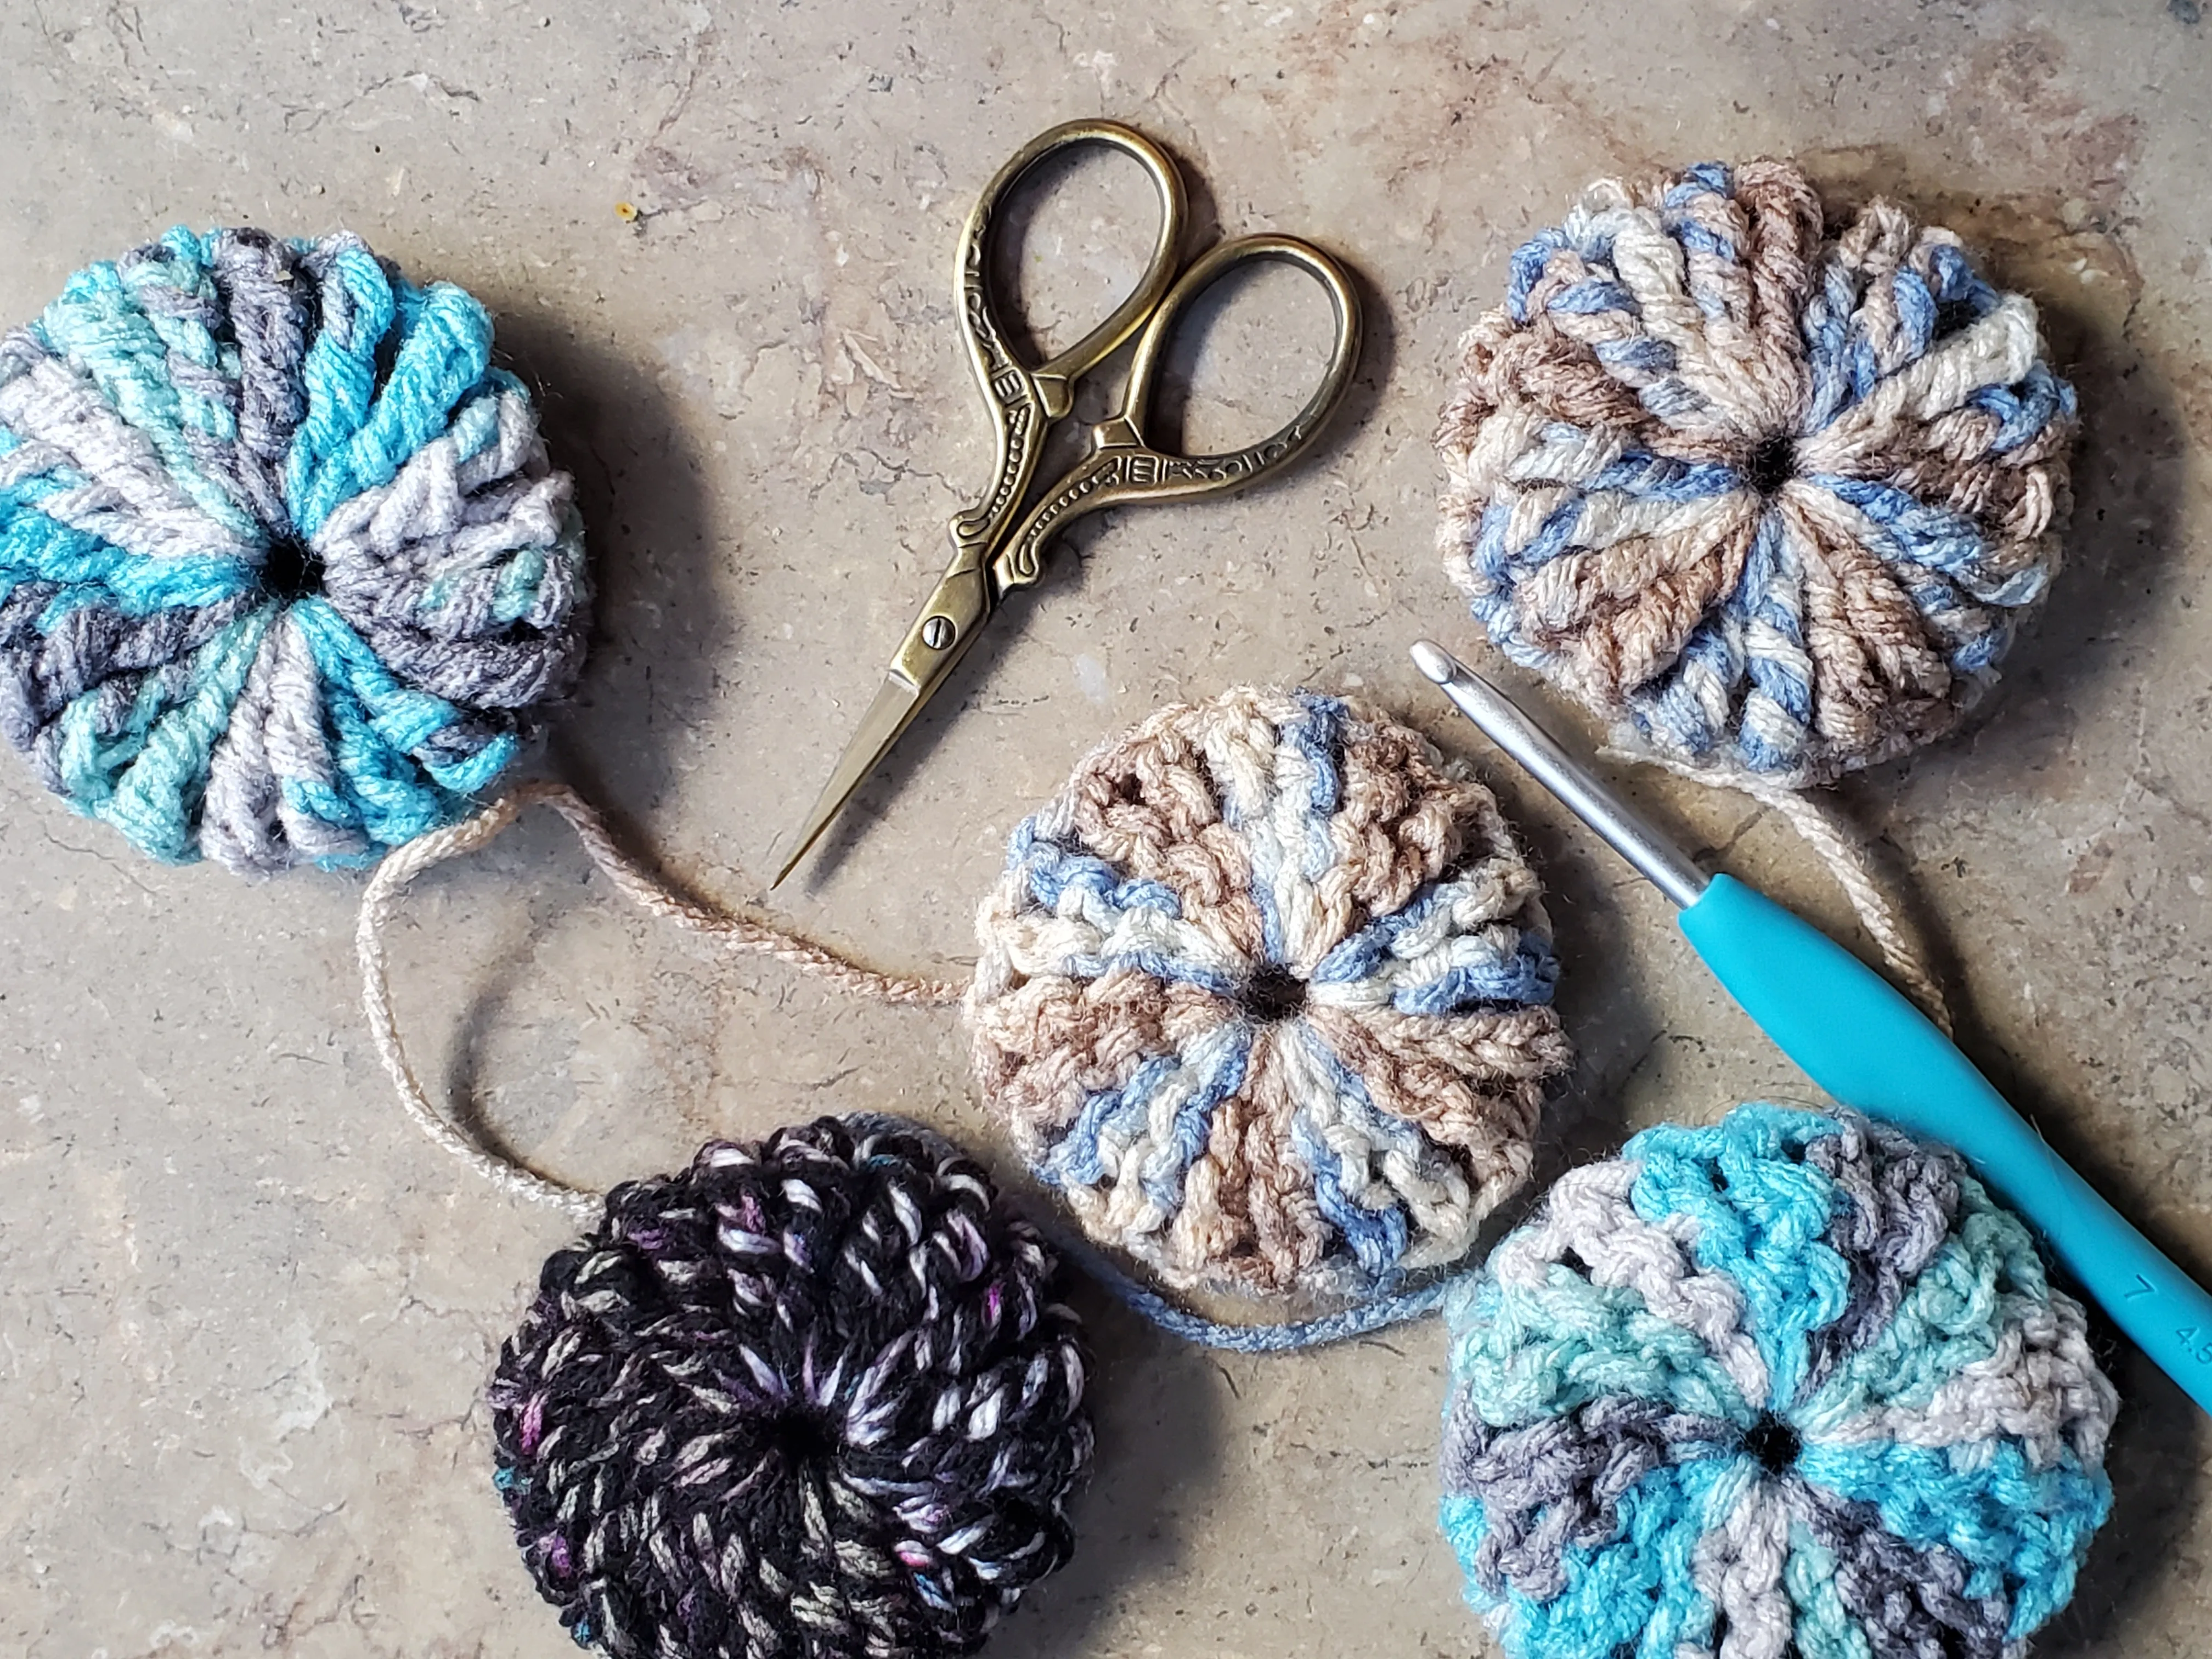
The Yoyo Puff stitchis a delightful crochet stitch that creates charming, three-dimensional puffs with a distinctive ring in the center. It adds a playful, textured element to your projects, making it perfect for blankets, amigurumi, flowers, and other accessories.
Characteristics Of The Yoyo Puff Stitch
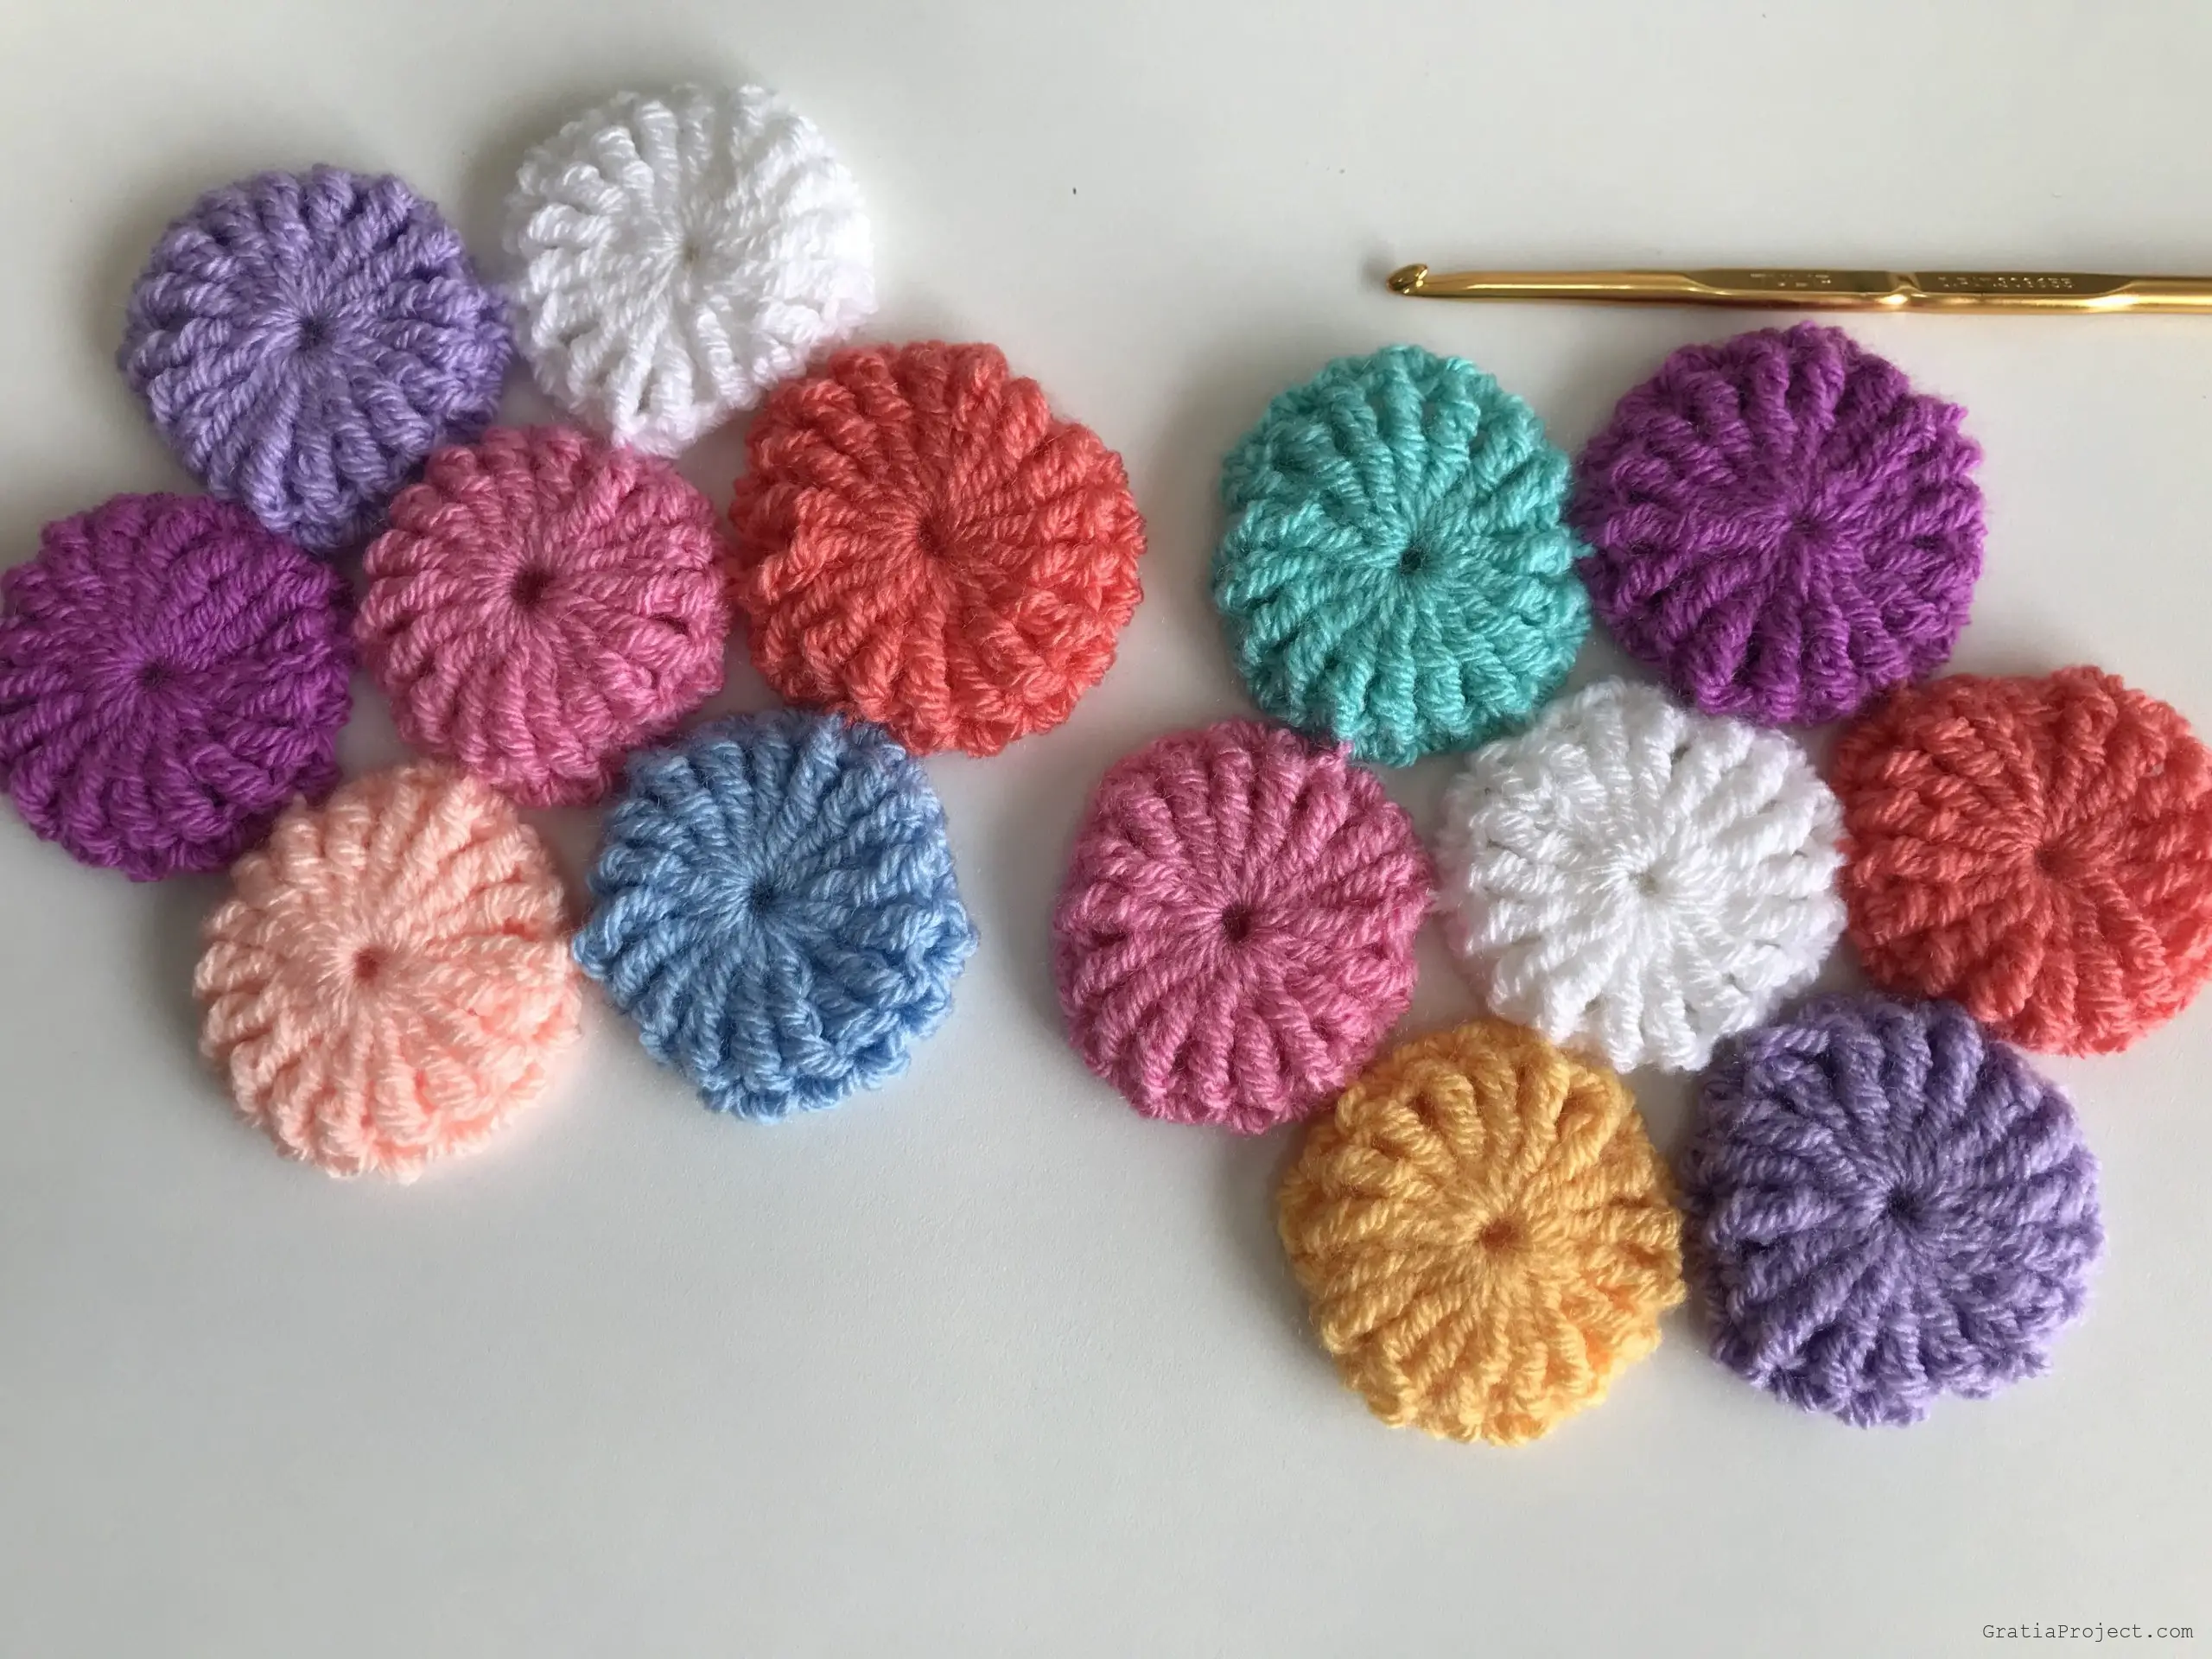
1. Variety of Sizes -The Yoyo Puff stitch can be adjusted in size by modifying the number of stitches worked in each round. Larger puffs create a bolder, more dramatic effect, while smaller puffs offer a delicate and intricate look.
2. Central Ring -Unlike other puff stitches, the Yoyo Puff features a distinct ring at its core. This ring is formed by working stitches into the center loop of the previous round, creating a charming detail that sets it apart.
3. Puffy Texture -As the name suggests, the Yoyo Puff stitch boasts a rounded, raised appearance that pops out from the fabric. This unique dimension adds visual interest and makes your projects cuddly and soft.
What Makes The Yoyo Puff Stitch Different?
Compared to other crochet stitches, the Yoyo Puff has some unique features
- Taller than Traditional Puffs -The Yoyo Puff stitch achieves its height by working tall stitches like double trebles (dtr) in the first round. This creates a more pronounced puff compared to standard puff stitches made with double crochets (dc).
- Distinctive Ring Formation -The central ring, a hallmark of the Yoyo Puff stitch, is not present in most other puff variations. This unique detail adds a touch of whimsy and character to your projects.
- Controlled Growth -Unlike some puff stitches that can grow uncontrollably, the Yoyo Puff stitch is designed to maintain its shape. The working into the center loop of the previous round helps control the puff's height and prevents it from becoming overly bulky.
Visualizing The Yoyo Puff Stitch
Imagine a regular puff stitch with a playful surprise in the middle – that's the Yoyo Puff! Its charmingly plump form combined with the defining central ring makes it easily recognizable.
To further visualize the stitch, consider watching video tutorials that demonstrate the step-by-step process. Seeing the stitch in action can greatly enhance your understanding and give you a clearer picture of its unique construction.
Tools And Materials Required
Ready to unleash your inner puff-master? Here's what you'll need to dive into the delightful world of the Yoyo Puff stitch
1. Yarn
- Weight -This stitch works well with a variety of yarn weights, but worsted weight (medium weight) yarn is a popular choice for beginners. It offers a good balance between ease of handling and stitch definition.
- Material -Opt for 100% cotton yarn if you're working with amigurumi or dishcloths. Acrylic yarn makes a soft and affordable choice for blankets and scarves. For a luxurious touch, consider blends with wool or silk.
- Color -Play with vibrant hues to showcase the puff's texture, or stick to calming neutrals for a serene project. Remember, the right color choice can truly bring your creation to life!
2. Crochet Hook
Size -The ideal hook size will depend on your chosen yarn weight. For worsted weight yarn, a 5mm hook is a good starting point. Always refer to the yarn label for manufacturer recommendations.
Additional Accessories
- Needle and thread -These are handy for weaving in ends and attaching puffs together. Choose a needle size appropriate for your yarn weight.
- Stitch markers (optional) -These can help mark the beginning of your rounds, especially if you're working with intricate patterns.
- Scissors -A sharp pair of scissors is essential for trimming yarn ends.
Beginner-Friendly Options
- Starting with larger yarn and hook sizes -This makes the stitches easier to see and work with, especially for beginners.
- Choosing lighter-colored yarn -Darker yarns can make it harder to distinguish stitch details, which might be frustrating for new crocheters.
- Practicing on a small swatch before starting your project -This helps you get comfortable with the stitch and make any adjustments before diving into your main creation.
With these tools and a little practice, you'll be crocheting charming Yoyo Puffs in no time! Remember, the most important ingredient is to have fun and enjoy the process!
Basic Skills And Preliminary Techniques
Before embarking on the delightful journey of the Yoyo Puff stitch, it's important to have a solid grasp of some fundamental crochet skills and techniques. This will ensure you approach the puff with confidence and ease!
Essential Skills
- Slip Knot -This basic knot forms the foundation for your project and is the first step in most crochet patterns.
- Chaining -Making chains is crucial for creating foundation rows and working into established stitches. Practice creating chains of varying lengths smoothly.
- Single Crochet (sc) -This fundamental stitch forms the backbone of many crochet projects. Master inserting your hook, yarn overs, and pulling through loops to crochet clean and consistent scs.
- Double Crochet (dc) -While not absolutely necessary for the Yoyo Puff, understanding dc stitches can enrich your understanding of taller stitches used in the puff construction.
- Turning your work -Knowing how to smoothly turn your crochet work at the end of each row is essential for maintaining proper stitch placement and keeping your project even.
Additional Helpful Knowledge
- Reading crochet patterns -Familiarity with basic crochet symbols and abbreviations will be beneficial when learning the Yoyo Puff stitch from written instructions.
- Tension -Maintaining consistent yarn tension throughout your project ensures even stitches and a neat overall look. Practice crocheting at a comfortable pace and adjusting your tension as needed.
- Following instructions -Carefully read and understand the Yoyo Puff stitch instructions before starting. Don't hesitate to re-read or seek clarification if any steps seem unclear.
Confidence Boosters
- Practice makes perfect -Don't be discouraged if the Yoyo Puff doesn't look perfect on your first try. Keep practicing, and you'll soon be crocheting them with ease and flair!
- Start small -Begin with a small swatch or practice project to get comfortable with the stitch before tackling a larger piece.
- Seek help -Don't hesitate to ask experienced crocheters for advice or clarification. Many online communities and forums are dedicated to helping beginners.
Step-by-Step Guide To Crocheting The Yoyo Puff
Ready to unleash your inner puff-master? Buckle up, as we embark on a step-by-step journey to conquer the enchanting Yoyo Puff stitch! Remember, practice makes perfect, so grab your hook, yarn, and let's begin!
Materials
- Yarn of your choice (worsted weight recommended for beginners)
- Crochet hook suitable for your yarn weight (5mm for worsted weight)
- Scissors
- Stitch marker (optional)
Step 1 - Chain It Up
- Make a slip knot.
- Chain 4 (or desired number of chains for your project base).
Step 2 - Building The Puff (Round 1)
- Double treble crochet (dtr) -into the 3rd chain from the hook. (Yarn over 3 times, insert hook into chain, yarn over, pull through 2 loops, yarn over, pull through 2 loops, yarn over, pull through all remaining loops on hook = 1 dtr made.)
- Repeat dtr in each remaining chain to the end.
- Join with a slip stitch to the top of the first dtr, forming a ring.
Step 3 - Shaping The Ring (Round 2)
- Chain 4 (acts as your turning chain).
- Triple crochet together (tr2tog) into the next stitch. (Yarn over twice, insert hook into next stitch, yarn over, pull through 2 loops, yarn over, pull through all loops on hook = 1 tr2tog made.)
- Repeat tr2tog in each stitch around the ring, except the last stitch.
- Chain 1 and slip stitch into the top of the chain 4 from the beginning of the round.
Step 4 - The Magic Continues (Repeat Rounds 1-3)
- Repeat Rounds 1-3 as many times as desired to achieve the desired size and puffiness of your Yoyo Puff.
- Remember, each Round 1 adds height, while Round 2 creates the central ring and shapes the puff.
Tips For Success
- Hold your loop loosely when working dtrs to avoid pulling the stitch too tight and distorting the puff shape.
- Insert your hook into the center loop of the previous round's dtr when working the first dtr in Round 3. This creates the distinctive Yoyo Puff ring.
- Use a stitch marker to mark the beginning of your rounds, especially if you're working with multiple repetitions.
- Don't worry if your puff looks a bit messy in the first few rounds. It will start to take shape as you add more rounds.
Bonus Round - Finishing Touches
- After completing your desired number of rounds, fasten off your yarn securely.
- Weave in all ends for a neat and professional finish.
Visual Aids
- For a clearer understanding of the Yoyo Puff stitch construction, consider checking out video tutorials online. They offer visual demonstrations of each step, making the learning process even more enjoyable.
- Practice and patience are your keys to success! Embrace the fun, unleash your creativity, and enjoy the delightful world of Yoyo Puff crochet!
Variations Of The Yoyo Puff Stitch
The charming Yoyo Puff stitch is just the tip of the iceberg! By tweaking its basic structure and combining it with other stitches, you can unlock a treasure trove of textural delights for your crochet projects. Let's delve into some exciting variations and see how they can add a spark to your creations:
1. Size Spiel -Play with the size of your puffs! Use fewer dtrs in Round 1 for delicate mini puffs, perfect for embellishing hats or amigurumi. <strong>Increase the dtr count</strong> for bolder, statement puffs ideal for blankets or bags.
2. Puff Stacking -Create charming clusters by <strong>working multiple Yoyo Puffs on top of each other</strong>. Experiment with alternating puff sizes or colors for a playful effect.
3. Textural Twists -Combine the Yoyo Puff with other stitches for dynamic textures. Try alternating rows of <strong>Puffs with dc or sc ridges</strong> for a rustic look. Weave in <strong>popcorns or bobbles</strong> between puffs for a playful, bumpy texture.
4. Puff Parade -Don't limit the Puff to rounds! Create unique shapes by working puffs in <strong>straight rows or staggered diagonals</strong>. This approach is perfect for scarves, coasters, or appliques.
5. Puffy Blooms -Unleash your floral creativity! Work Yoyo Puffs in various sizes and colors to create <strong>dimensional flowers, rosettes, or daisies</strong>. Add leaves and stems with other stitches for complete floral arrangements.
Project Inspiration
- Cozy Blankets -Use contrasting puff sizes and colors to create a playful textured blanket. Incorporate puff clusters as decorative motifs.
- Whimsical Amigurumi -Make adorable animals with Yoyo Puff bodies! Use mini puffs for eyes, noses, and paws.
- Stylish Accessories -Add Yoyo Puff borders to hats, scarves, and headbands for a unique touch. Create textured clutches or bucket hats with puff clusters.
- Home Decor Delights -Make decorative coasters, pillows, or wall hangings with playful puff patterns and color combinations.
Correcting Common Mistakes
Even the fluffiest of stitches can sometimes encounter a few bumps along the way. Here's a guide to common Yoyo Puff stumbles and how to conquer them:
1. The Leaning Tower Of Puff
- Problem -Your puff is tilting to one side, losing its symmetry.
- Solution - Ensure you're working dtrs evenly around the ring.
Check for extra loops or missed stitches that might be pulling the puff off-center. Count your stitches carefully in each round to maintain balance.
2. The Flat And Floppy Puff
- Problem -Your puff lacks height and appears deflated.
- Solution - Make sure you're working your dtrs loosely enough. Pulling them too tight can flatten the puff.
Use a larger hook size if needed to create more airy stitches.
3. The Holey Center
- Problem -Your puff has a large gap in the middle, resembling a donut.
- Solution - Double-check that you're correctly working the tr2tog stitches in Round 2. They should close the center of the puff.
Ensure you're inserting your hook into the center loop of the previous round's dtr when starting Round 3.
4. The Wonky Ring
- Problem - Your puff's ring is uneven or has gaps.
- Solution - Pay close attention to the placement of your tr2tog stitches in Round 2. They should be evenly spaced around the ring.
If you notice a gap, work an extra tr2tog in that space to close it up.
5. The Unruly Yarn Monster
- Problem -Your yarn is tangling, making it difficult to work the stitches.
- Solution - Pause regularly to untwist your yarn and prevent knots.
Use a yarn bowl or swift to keep your yarn organized and flowing smoothly.
General Tips
- Chain loosely -This allows for better stitch definition and prevents tight puffs.
- Count your stitches -Double-check each round to ensure you're working the correct number of stitches.
- Use stitch markers -They'll keep track of the beginning of your rounds, especially in larger projects.
- Don't be afraid to frog -If something isn't working, unravel and try again. Patience and practice are key!
- Experiment with different yarns -Different yarn weights and textures can affect the puff's appearance.
- Seek help from online resources -Crochet forums and video tutorials offer valuable tips and troubleshooting advice.
Experimentation is key! Don't be afraid to combine variations, explore different yarns and colors, and let your creativity guide you. The Yoyo Puff stitch is a versatile canvas waiting for your artistic touch!
See Also: How To Make The Crochet Brick Stitch