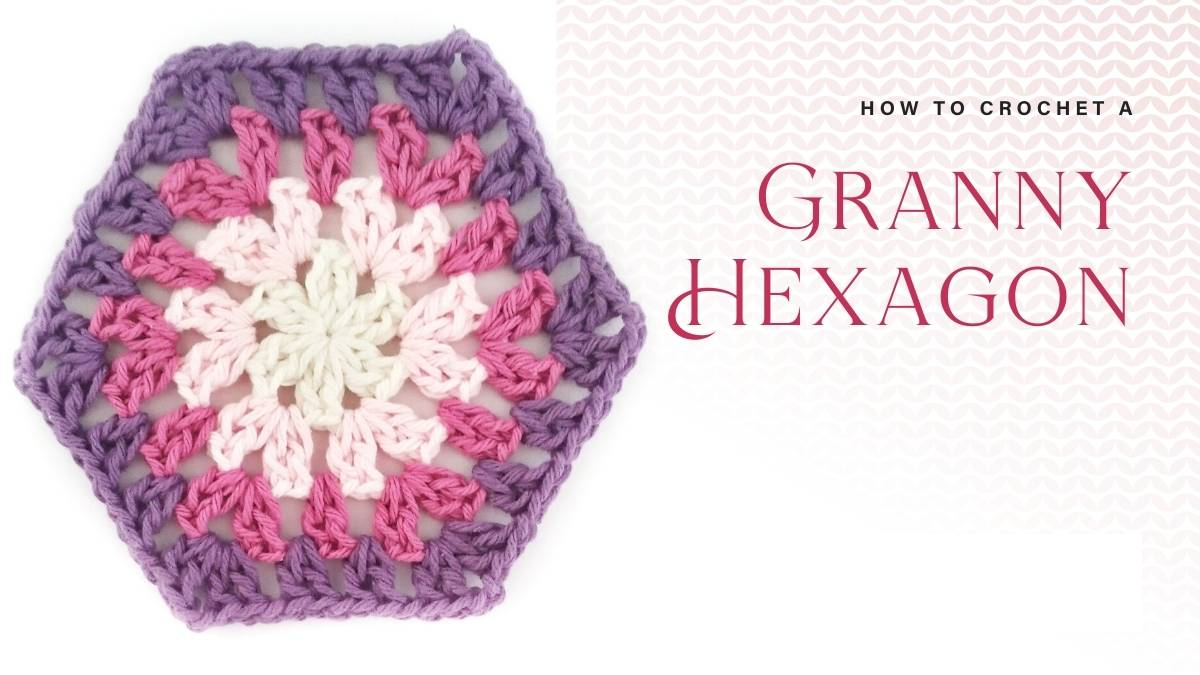
Crochet The Granny Hexagon -A timeless marvel in the world of crochet, blending tradition with creativity. Its six-sided charm not only epitomizes classic craftsmanship but also serves as a canvas for endless possibilities. With its rhythmic clusters and interlocking stitches, the Granny Hexagon boasts versatility like no other, promising a gateway to intricate designs and delightful creations.
Imagine infusing your blankets, coasters, or even fashion accessories with the allure of this geometric wonder. From vibrant hues to subtle gradients, the Granny Hexagon transforms yarn into a symphony of colors, elevating each project with a touch of elegance. Whether you're a seasoned crocheter seeking a new challenge or a beginner eager to explore the craft, this tutorial will unravel the mysteries behind mastering the Granny Hexagon.
The Basics Of Granny Hexagon
The granny hexagon, a vibrant cousin of the beloved granny square, boasts a rich history and a captivating charm all its own. While it shares ancestry with its square counterpart, the hexagon carves its own path in the tapestry of crochet, offering distinct features and endless creative possibilities.
Origin Story
Pinpointing the granny hexagon's birthdate is a bit like chasing whispers through time. Traces of hexagonal motifs appear in earlier needlework traditions, but the recognizable modern pattern likely emerged sometime in the early 20th century. While some credit its debut to American publications around 1910, others speculate it may have blossomed from European crocheting circles even earlier.
Despite the uncertainty, one thing is clear: the granny hexagon, like its square sibling, thrived during times of resourcefulness and community. Its modular construction, scrap-friendly nature, and endless color combinations resonated with generations of crafters, making it a timeless symbol of creativity and practicality.
Standing Out From The Square
Though born from the same granny stitch family, the hexagonal shape brings with it a unique personality. Here's what sets it apart
- Structure -Unlike the granny square's four corner spaces, the hexagon's six sides offer a continuous flow, eliminating the need for joining motifs later. This seamless construction creates a smoother, more dynamic overall fabric.
- Shape Play -The six-sided format unlocks a world of geometric possibilities. Granny hexagons can be assembled in endless configurations, forming flat panels, three-dimensional shapes, and even mesmerizing tessellations.
- Color Canvas -The six sides act as individual mini-canvases, allowing for stunning color play and intricate motifs. Imagine swirling gradients, kaleidoscopic bursts, or storytelling scenes, all stitched stitch by stitch within the hexagon's frame.
A Versatile Gem
The granny hexagon'sunique personality translates to a mesmerizing versatility. It readily lends itself to
- Blankets and Throws -Imagine a cozy blanket woven from hexagons of varying textures and colors, or a playful throw showcasing geometric patterns that dance across the surface.
- Garments and Accessories -From whimsical hats and playful bags to chic tops and eye-catching scarves, the hexagon adds a touch of geometric flair to any wardrobe.
- Home Decor -Coasters, placemats, wall hangings, and even furniture embellishments – the possibilities are endless when it comes to adorning your living space with granny hexagon charm.
Tools And Materials Needed
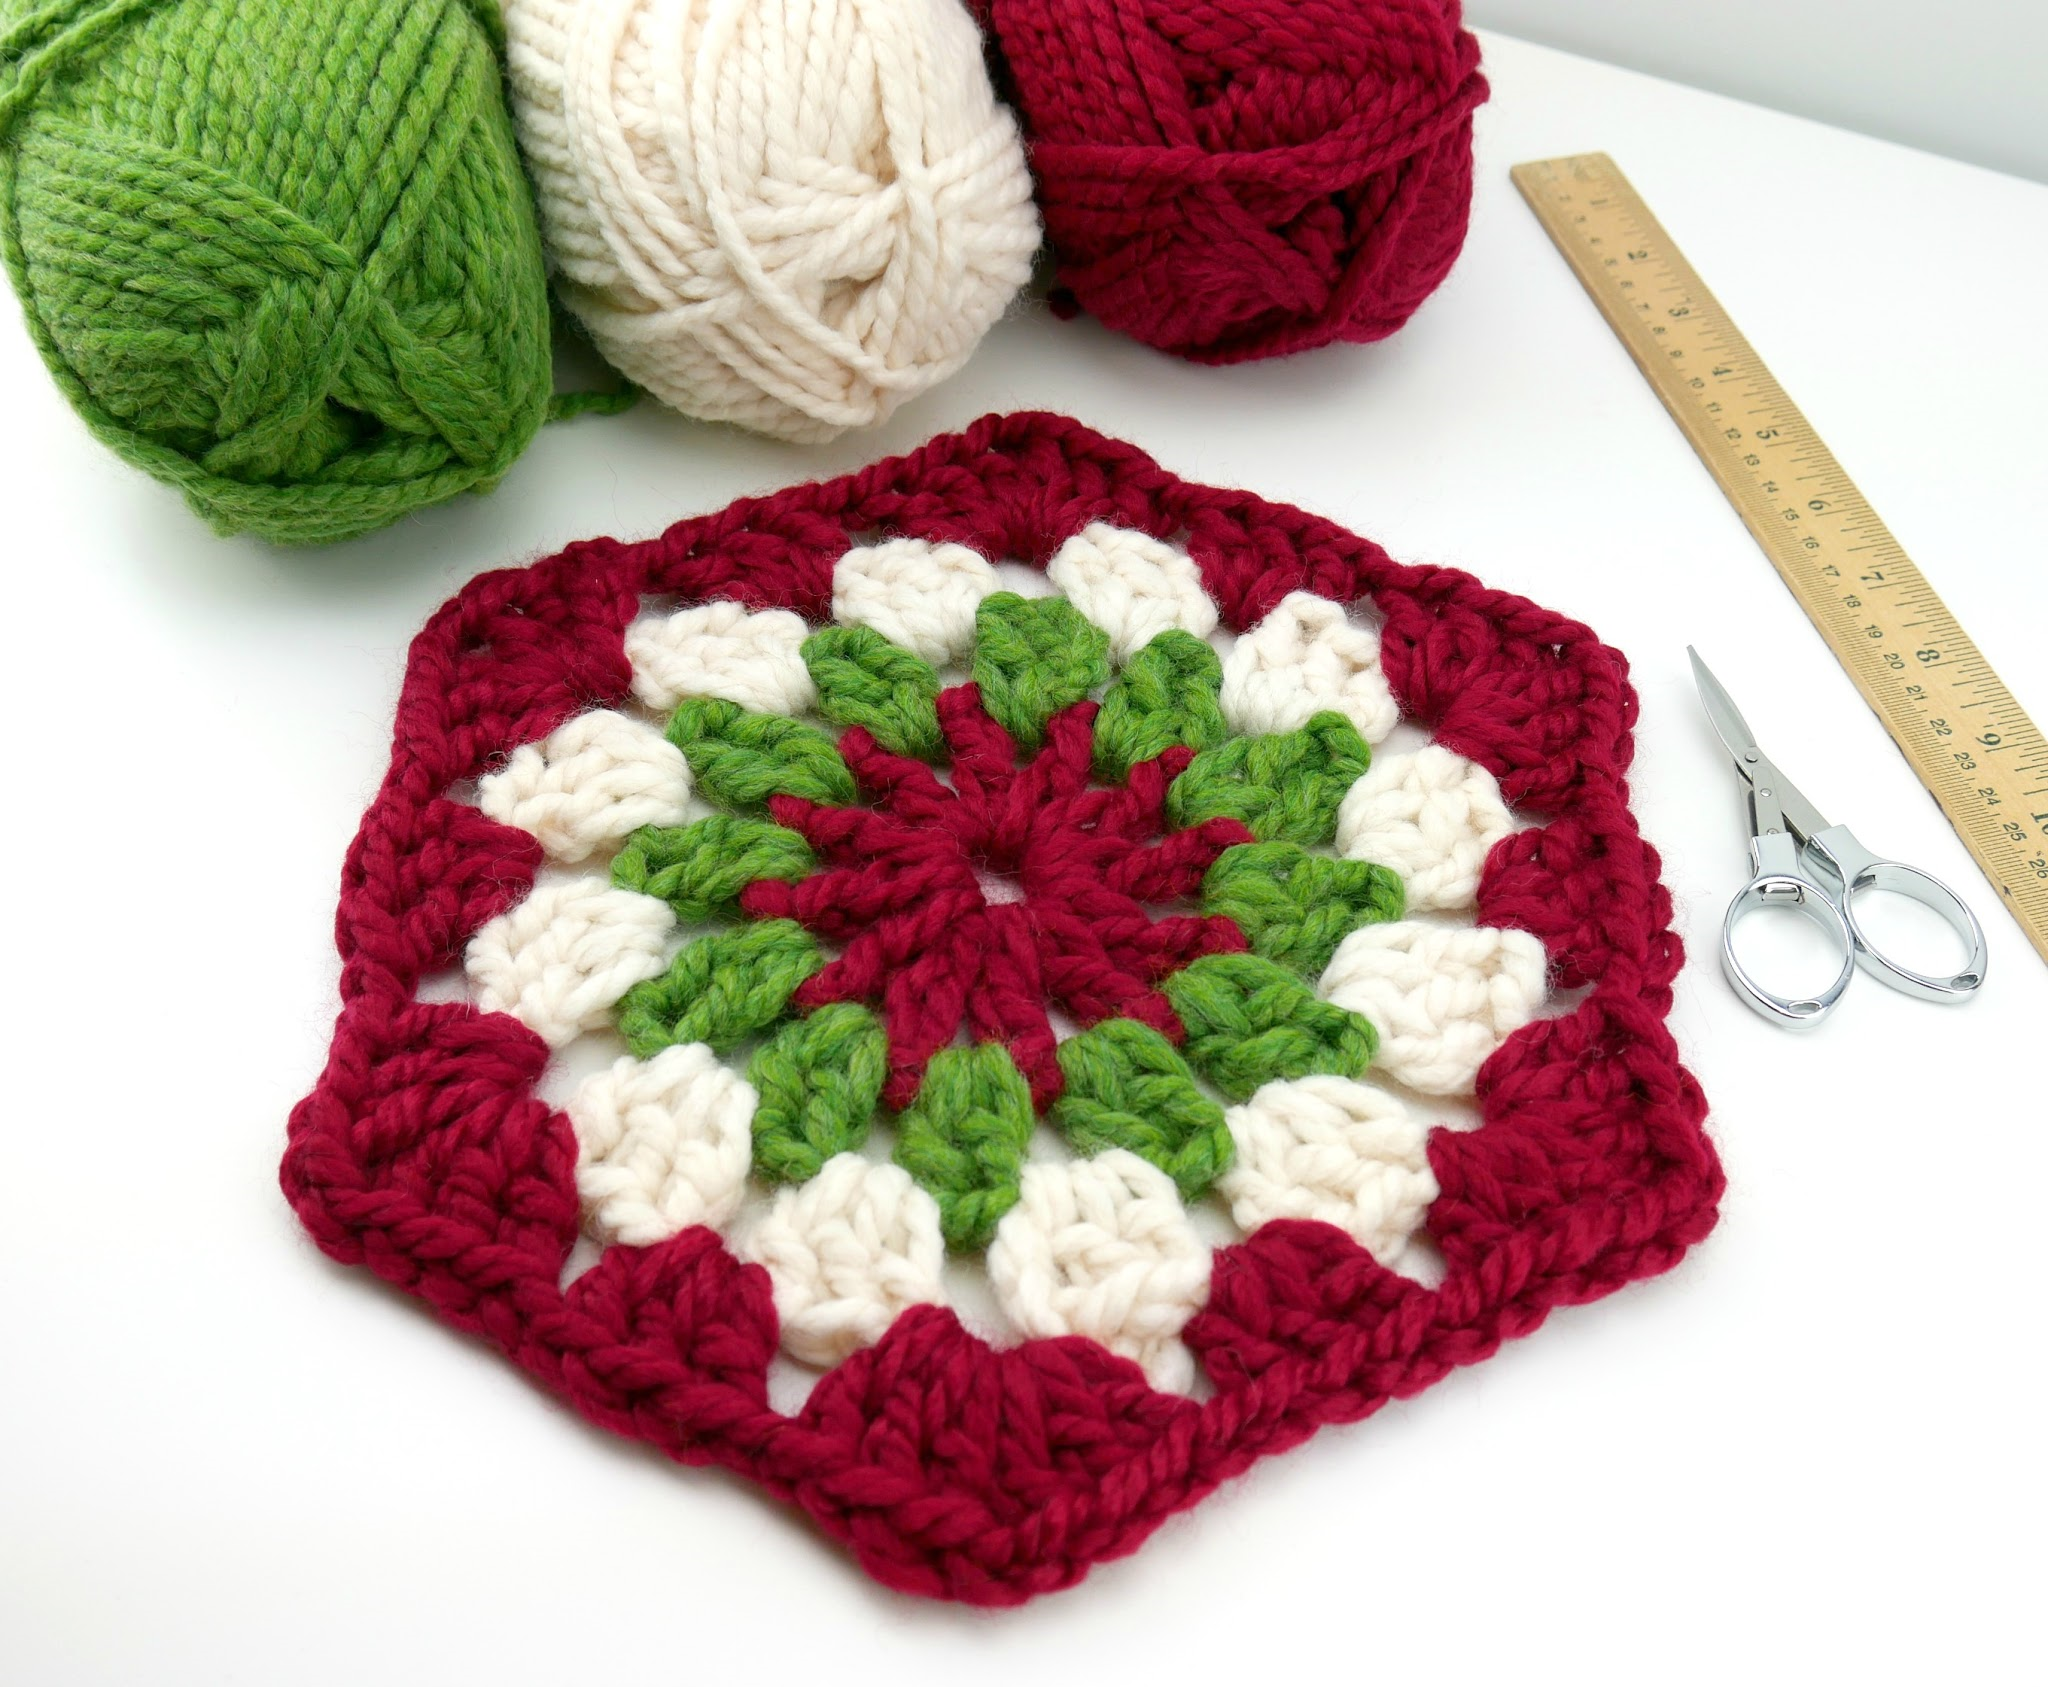
Embarking on your granny hexagon adventure? Before your hook starts dancing, gather your trusty toolkit! Here's what you'll need:
Yarn
- Type -This is where your creativity takes flight! For beginners, try worsted weight yarn, offering a balance of thickness and ease of handling. Cotton or acrylic yarns are great as they're washable and forgiving. For experienced crocheters, explore finer or thicker weights, textured yarns, or even blends for added dimension.
- Color -One of the joys of hexagons is their color play! Choose a solid color for a classic look, or pick a multi-colored skein for vibrant stripes or playful fades. For beginners, opt for two contrasting colors to easily differentiate stitches.
Crochet Hook
- Size -The hook size should complement your yarn weight. For worsted weight yarn, a size 5.5mm (US H-8) hook is a good starting point. Check the yarn label for recommended hook sizes.
- Material -Metal hooks are common, offering smooth gliding and durability. Consider ergonomic hooks for comfort, especially during longer projects.
Additional Tools
- Tapestry needle -Weaving in yarn ends is essential. A blunt-tipped tapestry needle will glide through your stitches without snagging.
- Scissors -Sharp scissors are your trusty sidekick for snipping yarn.
- Stitch markers (optional) -These handy little clips can mark corners and round changes, especially helpful for beginners.
Beginner's Choice Tips
- Yarn -Opt for lighter-colored yarns, making stitches easier to see. Choose smooth, non-textured yarns for practice.
- Hook -Consider a slightly larger hook than recommended for your yarn, making loops bigger and easier to manipulate.
- Kits -Pre-made granny hexagon kits often include yarn, hook, and pattern, offering a convenient all-in-one solution.
The right tools are merely your starting point. The true magic lies in your enthusiasm and willingness to explore! So, gather your supplies, let your inner color wizard loose, and prepare to crochet a world of hexagonal wonder!
Preparing To Crochet Granny Hexagon
Before your hook embarks on its hexagonal escapade, let's ensure you're equipped with the right skills and preliminary steps. Consider these your crochet training wheels, ready to guide you towards stunning granny hexagon mastery!
Basic Stitches To Master
- Slip Knot -This humble knot anchors your yarn and forms the starting point for any project. Master this simple loop and you've conquered the first hurdle!
- Chain Stitch -This foundational stitch is your building block. Learn to chain smoothly and confidently, creating little loops that pave the way for every other stitch.
- Double Crochet (DC) -The star of the granny hexagon show! Practice making DCs, inserting your hook, yarn over, pulling through loops – master this stitch and you've unlocked the key to hexagonal success.
- Single Crochet (SC) -Though not always used in every granny hexagon pattern, knowing basic SCs can come in handy for edging or finishing touches.
Preparing The Stage
- Read the Pattern -Before casting on, familiarize yourself with the specific granny hexagon pattern you've chosen. Understand the stitch sequences, round changes, and any special techniques used.
- Gauge Swatch -This practice square helps ensure your finished project comes out the right size. Make a swatch using the recommended yarn and hook, measure it against the gauge provided in the pattern, and adjust your hook size if needed.
- Organize Your Yarn -Wind your yarn into skeins or cakes to prevent tangles and ensure smooth crocheting. Separate colors if you're using multiple strands.
Additional Helpful Tips
- Use stitch markers -Mark corners and round changes with stitch markers to stay on track, especially for complex patterns.
- Count your stitches -Keeping track of stitches in each round is crucial for a neat and symmetrical hexagon. Don't hesitate to count as you go!
- Relax and have fun! -Crocheting should be a joyful experience. Take your time, embrace any mistakes as learning opportunities, and celebrate each completed round as a step closer to your hexagonal masterpiece.
Step-by-Step Guide To Crocheting The Granny Hexagon
Ready to cast your spell and conjure a captivating universe of granny hexagons? Well, grab your yarn, hook, and let's embark on a magical crochet journey! This detailed step-by-step guide will have you whipping up hexagons like a pro in no time.
Casting The Spell
1. Foundation Chain -Chain 4 (this counts as your first double crochet (DC) stitch).
2. Magic Ring -Start with a magic ring (also known as a magic circle) to create a seamless center. Check out this video tutorial for a clear demonstration:
Building The Hexagonal Canvas
1. First Round -Work 2 DCs into the magic ring, chain 2, 2 DCs in the same ring. Repeat this sequence 4 more times, ending with a chain 2 and joining with a slip stitch to the top of the chain 4 you made at the beginning. This creates your first hexagonal round with 6 corners.
2. Color Switching (Optional) -Granny hexagons sing in color! If you're using multiple colors, typically you switch at the end of a round, joining with the new color in the corner space. Experiment and find your preferred color-switching rhythm!
3. Round Changes -Don't forget to join at the end of each round with a slip stitch to the top of the starting chain 2 of the previous round.
4. Subsequent Rounds:The magic unfolds in these rounds! Here's the basic pattern
- Corners -In each corner space (chain 2 space), work 2 DCs, chain 2, 3 DCs.
- Sides -Between corners, work 2 DCs in each chain 2 space.
- Rounds and Size:Keep crocheting rounds, following the corner and side stitch pattern, until your hexagon reaches the desired size. Remember, the more rounds you work, the bigger your hexagon gets!
- Finishing Touches:Once you're happy with the size, finish your hexagon with a round of single crochets around the entire edge for a neat and polished look. Weave in your yarn ends, and voila! Your first granny hexagon is complete.
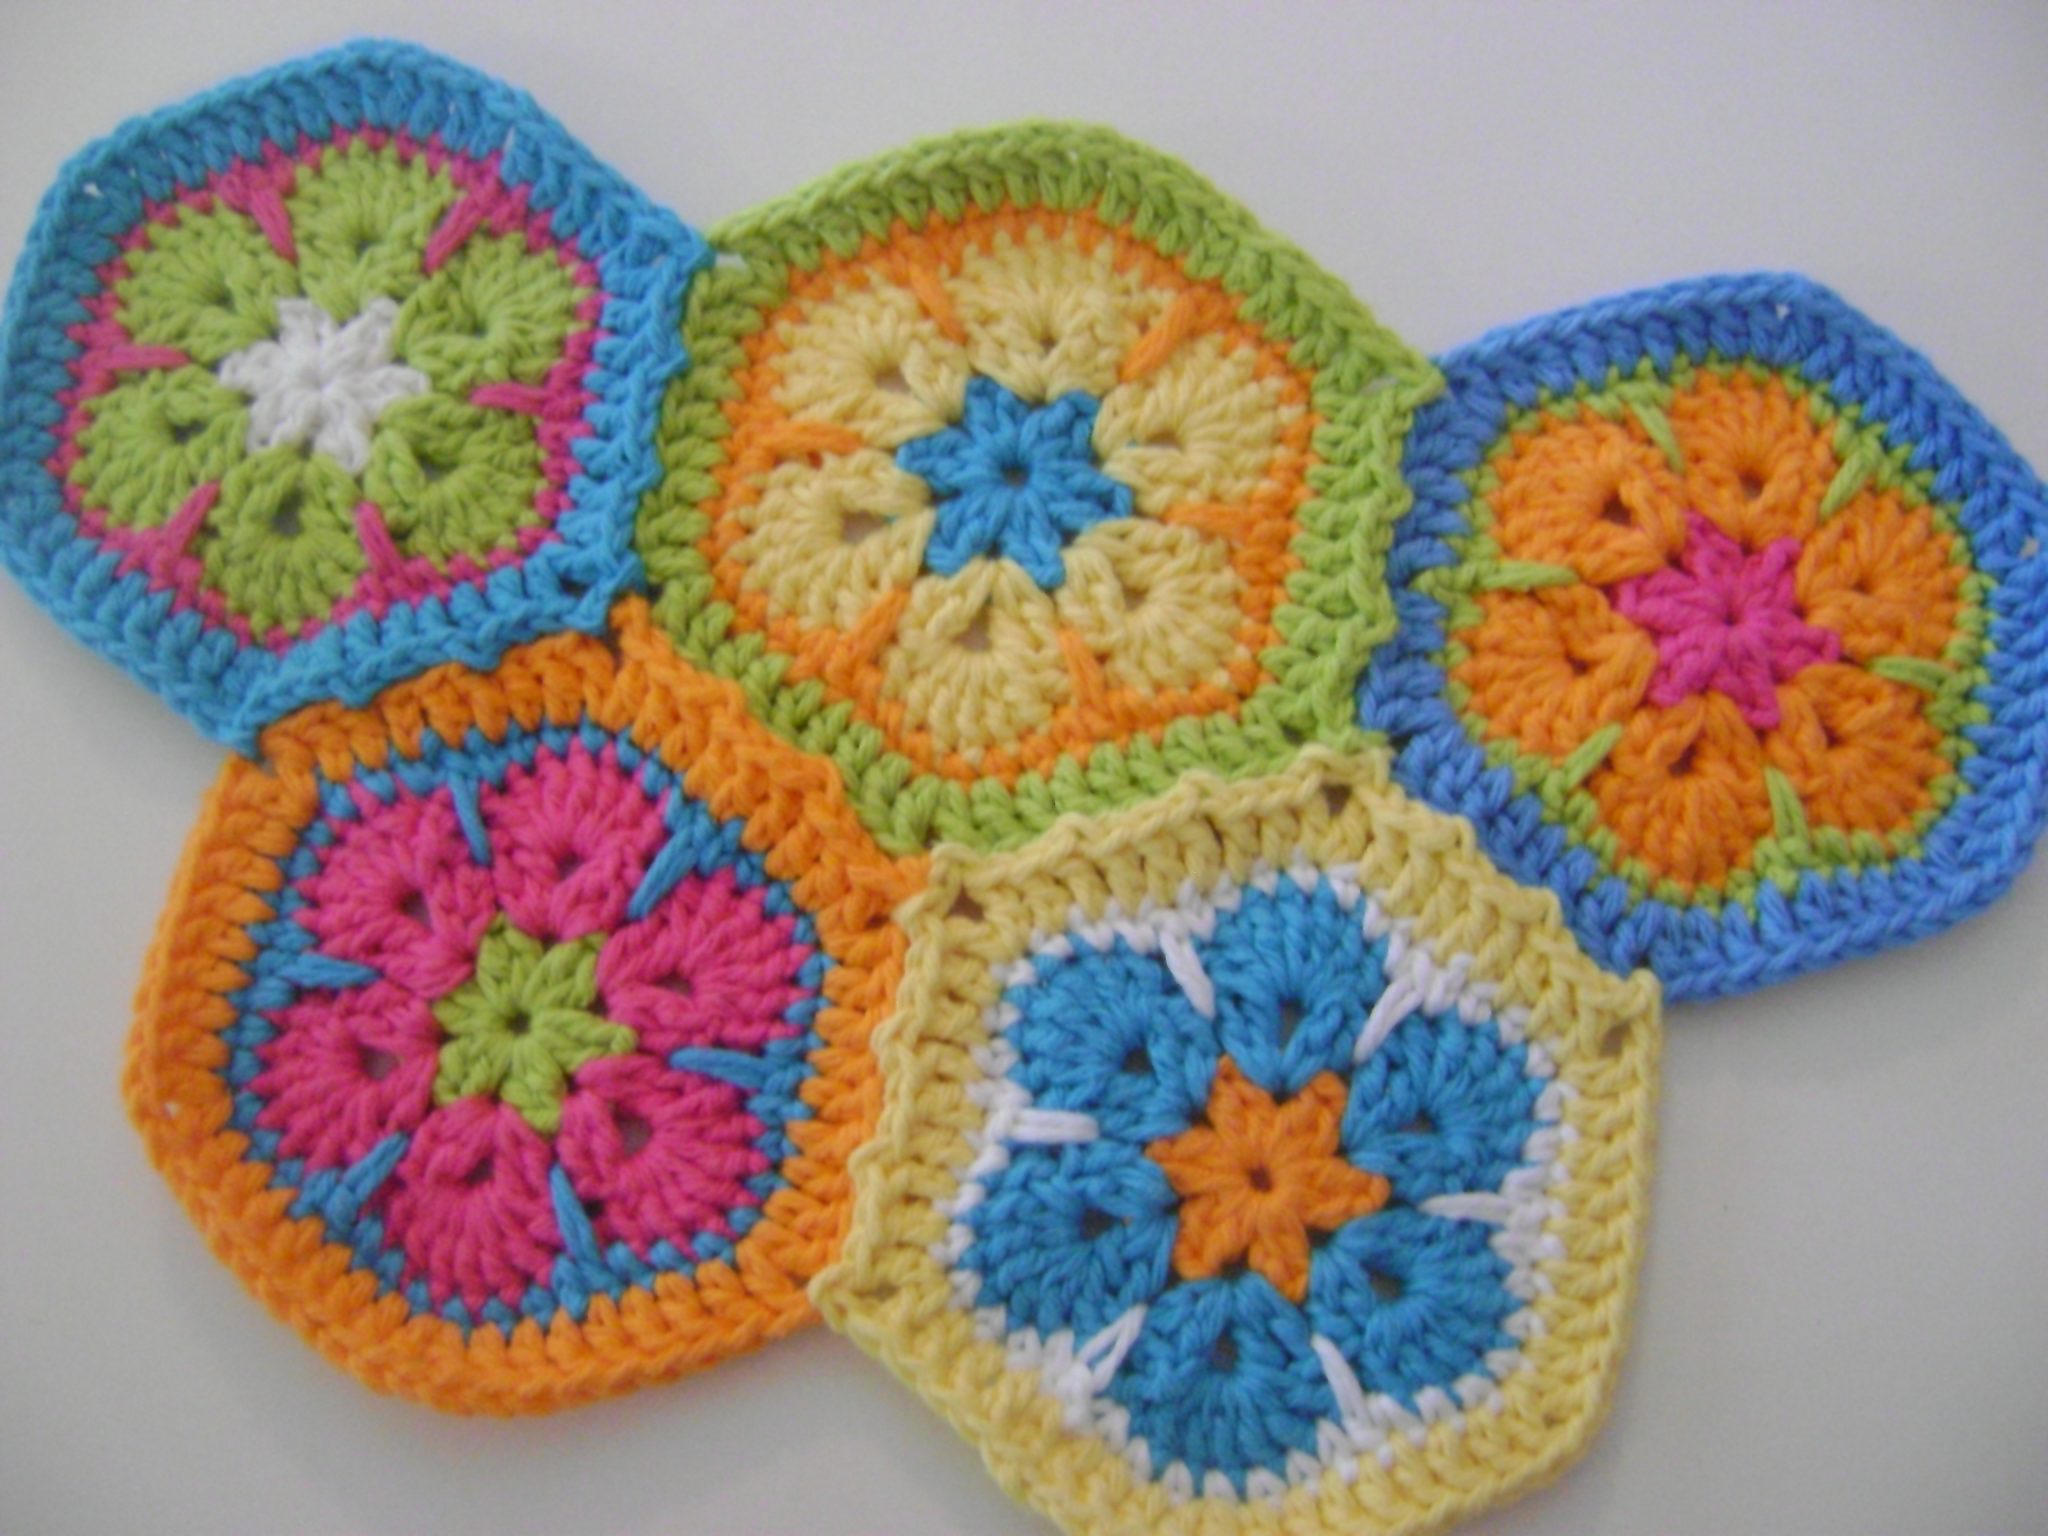
Color Patterns And Variations
Ah, the magic of color! When it comes to granny hexagons, their six sides become a vibrant canvas for your creativity. Let's dive into a kaleidoscope of possibilities and unleash your inner color wizard!
Classic Combinations
- Rainbow Burst -Dive into a spectrum of colors, changing hue with each round. Imagine a sunset gradation, a playful mix of primary colors, or a cool oceanic blend.
- Stripes and Checks -Alternate two or more colors to create bold stripes or charming checkerboard patterns. Play with thickness and spacing for dynamic effects.
- Ombre Delight -Use yarn with built-in color gradations for a mesmerizing ombre effect within each hexagon. Watch the shades subtly shift, adding depth and intrigue.
Bold And Beautiful
- Geometric Play -Use contrasting colors to highlight the hexagon's shape. Outline the edges with a dark hue, color-block specific corners, or create contrasting chains between DCs.
- Kaleidoscope Mania -Embrace vibrant, multi-colored yarns. Let unexpected color combinations and spontaneous stitches guide your hand, creating a mesmerizing kaleidoscopic effect.
- Monochrome Magic -Don't underestimate the power of one color! Explore different textures and stitch variations within a single hue. Play with yarn thickness, bobbles, or popcorn stitches to add depth and dimension.
Beyond The Surface
- Textured Tales -Introduce textured yarns, fuzzy pom-poms, or raised clusters of stitches to create tactile elements within your hexagons.
- Embellished Elegance -Add beads, sequins, or buttons to specific stitches for a touch of sparkle and personality. Let the embellishments tell a story or echo your theme.
- Appliqué Adventures -Cut out shapes from contrasting fabrics and appliqué them onto your hexagons. Create flowers, animals, or abstract designs for a unique and personalized touch.
Inspiration And Ideas
- Draw inspiration from nature -Mimic the vibrant hues of a flowerbed, the calming tones of a beach, or the fiery oranges and yellows of a sunset.
- Think about themes -Create granny hexagons for a specific occasion like Christmas or a baby shower. Use relevant colors and motifs to set the mood.
- Explore art and patterns -Look at geometric artwork, traditional mosaics, or even pixel art for inspiration. Translate those patterns into your hexagons using color and stitch variations.
- Don't be afraid to experiment -Try unexpected color combinations, play with stitch placement, and embrace the freedom of improvisation. Let your creativity guide you!
Granny Hexagon Variations
Even the most seasoned crocheters encounter a few bumps along the hexagonal road. But fear not, dear crafter! Here's a guide to troubleshooting common problems and ensuring your hexagons bloom with perfection:
1. Curling Or Wavy Edges
- Cause -Tension inconsistencies or too-tight stitches.
- Solutions - Use a larger hook size.
- Relax your grip while crocheting.
- Block your finished hexagon by wetting it, pinning it into shape, and letting it dry.
2. Misshapen Hexagons
- Cause -Incorrect stitch counts or placement.
- Solutions - Count stitches carefully in each round, especially corners.
- Use stitch markers to highlight corners and round changes.
- Unravel and redo problematic rounds if necessary.
3. Gaps Between Rounds
- Cause -Chain stitches being worked too loosely.
- Solutions - Tighten your chain stitches slightly.
- Use a smaller hook size for chains if needed.
4. Color Changes Not Lining Up
- Cause -Joining the new color in the wrong stitch.
- Solutions - Always join the new color in the last chain of the corner space.
- Weave in yarn tails to conceal any minor color inconsistencies.
Hexagon Size Inconsistency
- Cause -Varying tension or hook sizes.
- Solutions - Use the same hook size throughout the project.
- Check your gauge frequently and adjust tension as needed.
- Block finished hexagons to even out size variations.
Joining Hexagons Issues
- Cause -Uneven edges or misaligned stitches.
- Solutions - Ensure hexagons have straight, flat edges.
- Use a slip stitch or whip stitch to join hexagons, adjusting tension as needed.
- Practice joining techniques on scrap yarn before attaching final pieces.
Additional Tips
- Take Breaks -Crocheting for extended periods can cause tension changes. Rest your hands frequently.
- Use Good Lighting -Adequate lighting prevents eye strain and missed stitches.
- Count, Count, Count -Regular stitch counting is crucial for accurate shaping.
- Don't Be Afraid to Undo -If something looks off, unravel and redo. It's better to fix early than regret later.
- Seek Help -Consult crochet tutorials, books, or online forums for guidance. There's a wealth of knowledge and support available!
- Clustered Granny Hexagons:Add texture by working clusters of DCs in the corner spaces.
- Granny Hexagon Ripple:Create a stunning wavy effect by increasing stitches in specific rounds.
- Joining Hexagons:Learn how to seamlessly connect your hexagons to create blankets, bags, and more!
Whether you're a seasoned crocheter or a curious beginner, the granny hexagon promises a journey of delightful discovery. Its rich history, distinct characteristics, and boundless versatility make it a true gem in the crochet world, waiting to be explored and treasured stitch by captivating stitch.
See Also: How To Make The Crochet Brick Stitch